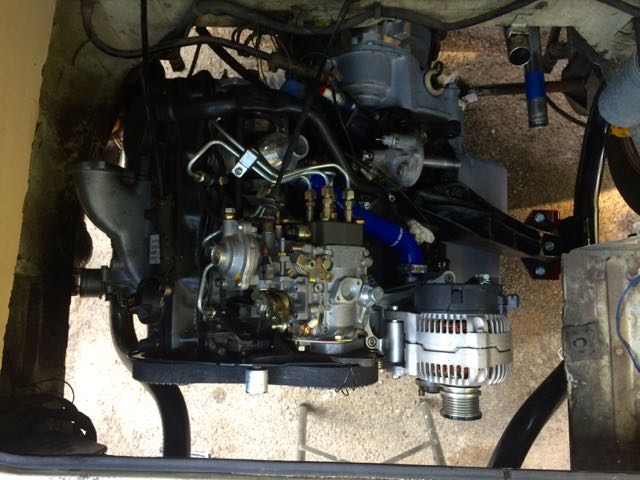
Conversion Related
This page will relate to information specific to fitting a VW Diesel Engine into a vanagon
Contents
Reference Material
- Here is my YouTube playlist of videos to this page. There's not as many videos as I initially thought. I think videos can move a bit quick and allow a miss of detail. That and uploading a large video over mifi is a challenge ;)
Part Reference
Part Vendors
Conversion Part Vendors
Service Manuals
- Bentley; ISBN 10: 0837603668
Social Media & Forums
Social Media
FaceBook has most of those groups
- Vanagon Owners Group - Overly moderated and free speech/thought is NOT encouraged.
Diesel Vanagon/T3/T25 Donor List
This is a list of items that you will need to source from an 82' or 83' USA diesel Vanagon or look over the pond at T3s
- Diesel Vanagon oil-pan & oil filler tube
- Diesel Vanagon Transmission Bell Housing to allow 50 degree mounting
- Diesel Vanagon Transmission Flywheel & Clutch (to later identify the TDI TDC mark)
- Diesel Vanagon engine mount brackets; mostly the passenger side mount bracket. You may decide to change the driver side mount for clearing a larger turbo than a K03 or K03 hybrid.
- Diesel Vanagon engine carrier bars, unless you decide to use the FAS Carrier Setup
Cooling System
Prerequisites
Coolant System - THIS allows the heart to beat and not overheat and die. It's ESSENTIAL to be in tip-top condition! Your diesel Vanagon's coolant system is HOW old? And you want to do WHAT type of conversion? Do this first if you haven't already!
Engine Carrier Bars & Brackets
Ah carrier bars. So, there's the 82' style which was an one-off in the USA and then 83+ which was when the engine got pushed back roughly 2" towards the rear to accomodate for a longer WBX transmission.
When you have an 82' diesel, it make sense to keep that arrangement. It's also been argued by some the 82' style allows easier access for working on the engine, as it's not 2" closer to the rear.
Upgraded 82' Bars
It's known that the 82' bars provide more vibration which some will argue. Myself when I researched the interwebz the general consensus was that they are not as good with vibrations compared to the newer 83' style carriers. Most people don't even notice a real difference. However, with my physical health, I will do whatever I can to make it more comfy.
Also, the cross-member that connects the two carriers that goes over the oil-pan is a very weak link. I have read where others have used a stonger tube bar to help it from twisting over. Because the 83' carriers don't have the rubber bushings on the ends there's no requirement for the cross member bar.
That said, I went with 83' style bars, but just not ANY 83' bars though, Tony @ TSI-Engeering found on TheSamba makes. He also makes a 50' degree DS mount to clear the turbo. I didn't realize that when I bought my DS mount.
I got a set of his 83' 2WD Carrier bars and then moved the motor brackets (had him lightly mark them where he installs) and then moved it towards the front of the van 2". It mounted perfectly!
I then installed his Isolator Mounts which use VW P/N 357199402BMY (Meyle has a better fitment with the isolator bracket I've read).
This allows for a more modern and easily found engine mount; searches will present it as a motor/transmission mount. It appears it was more widely used as a transmission mount.
Reference
- Tony @ TSI Engineering 2WD Carrier Bar Reference Document
TSI Carrier Install
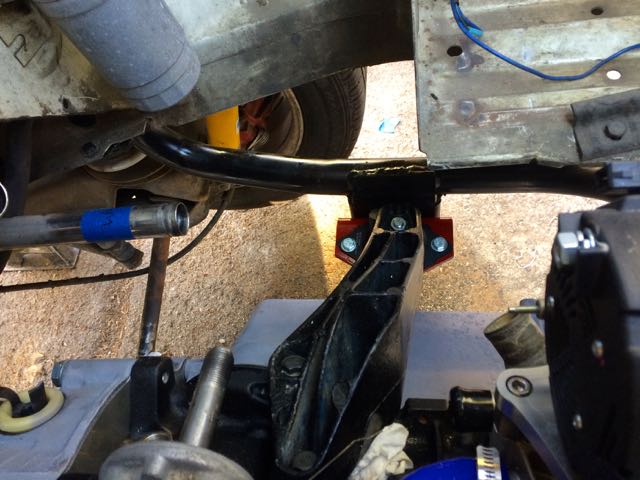
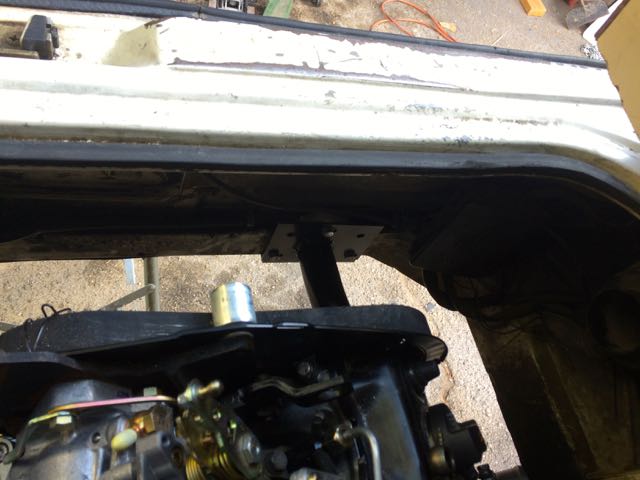
Bars Installed
Bracket View
Front Carrier Mount (no rubber!)
P/Ns
Driver Side Mount
This has a little more 'wiggle' room with part variations
There's essentially two washers and one bolt per mounting point (4 mounting points).
- 4x N01024222 (M8X25) or N0102478 (M8X35) based on fitment
- 4 x N01224111 - spring washer
- 4 x N01152520 - washer
- 1 x N10155207 - M10 nut
Passenger Mount
- 3 x N0102584 - bolt
- 3 x N0122422 - washer
- 3 x N01152711 - spring washer
- 1 x N10155207- M10 nut
Driver Side Bracket
If you use a larger turbo you'll need to fabricate a bracket that'll fit it.
There are options though:
- EPYTEC 1z conversion mount - This is what I ended up with.
- Tony @ TSI Engineering - I would have went this route if I knew he made those along with the carrier bars!
Photos
Driver Side
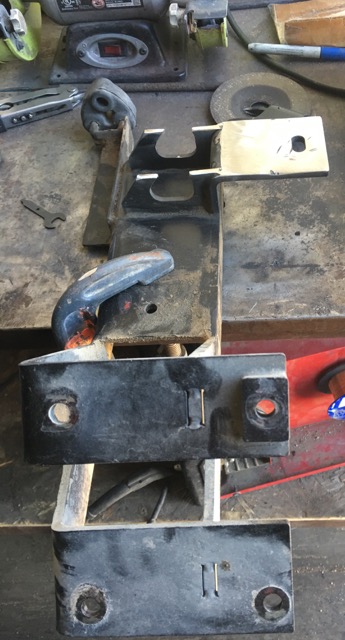
Driver Side Stock 82' Diesel Vanagon engine bracket
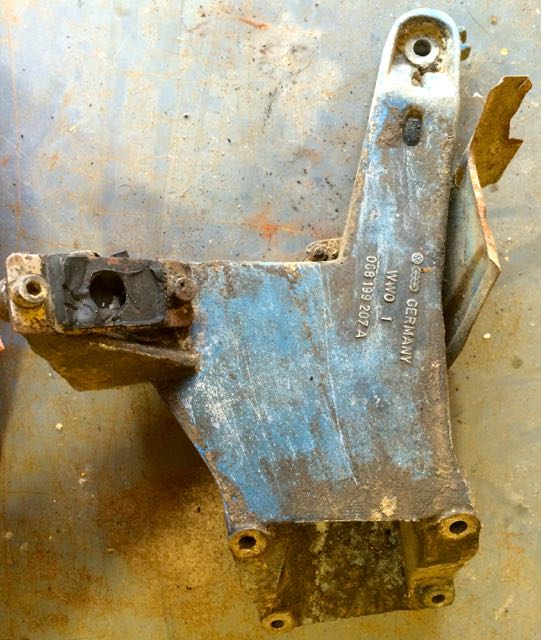
Passenger Side
Passenger Side Stock 82' Diesel Vanagon engine bracket
Engine Mounts
Generally speaking, if you plan to have a larger turbo than a K03 or K03/04 hybrid such as a GT2052 or VNT20 turbo, you'll need to modify the driver side motor mount.
One can be custom made if fabrication skills exist. Or one can buy something already available and modify it to suit your needs. When I started my project, I didn't have fabrication skills as I later developed.
Driver Side Engine Mount Options
- EPYTEC 1z conversion mount - This is what I ended up with.
- Tony @ TSI Engineering - I would have went this route if I knew he made those along with the carrier bars!
Epytec
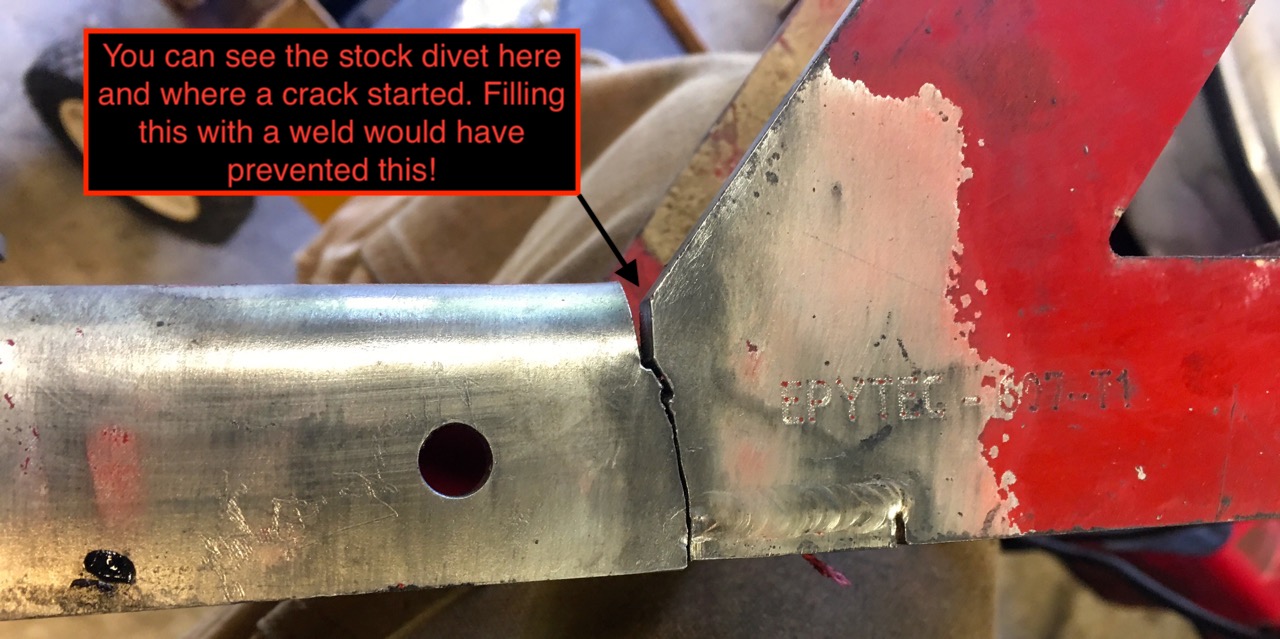
I ended up purchasing the Epytec motor mount which is stout and works out of the box for a K03 / VNT15 turbo.
However, it has it's flaws which are easily corrected if done right.
The two issues with this motor mount are
1.) They bent and shaped the mount properly, but failed to fill the bend/divets with weld filler to prevent crackts.
The photos below help show what I'm talking about.
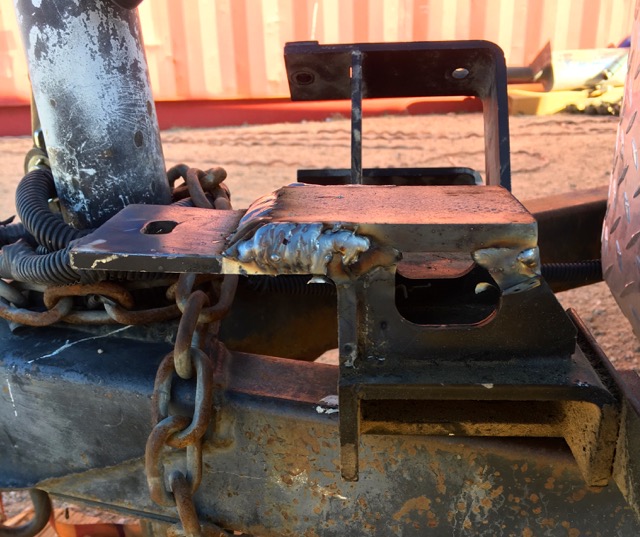
2.) The bracket has a hump which is pointless that I see. It hits all the larger wastegate turbos. The area circled
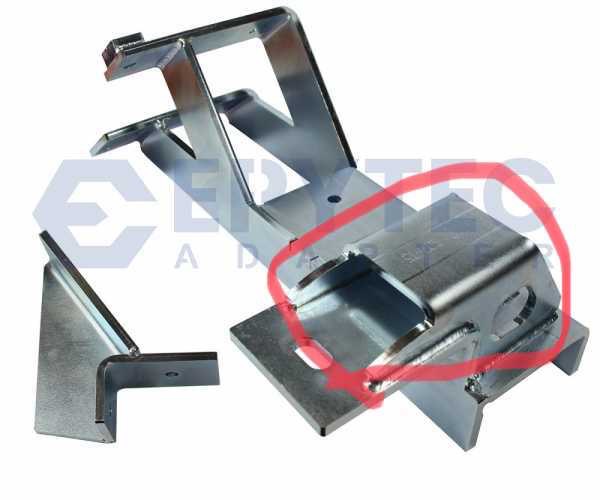
Hack off the hump!
Now put something thick in it's place that's not as high up! This is raw to give an idea of what to do. After you weld something clean it up and repaint!
The change I did gave me a 0.25" of space between the wastegate and the mount. Perfect!
Engine Isolator Mounts
Research
One method I was looking at was using SAAB Hydraulic mounts as seen here
Frank Grunthaner SAAB Hydraulic mount setup
http://www.thesamba.com/vw/forum/viewtopic.php?t=403215&highlight=ahu - rsxr - Saab engine mounts
I then discovered Tony Sanchez (TSI Engineering) who makes Syncro and 2wd 83+ carrier bars.
Now, this got me thinking about what the differences between 82' and 83' style carrier bars.
The newer 83+ bars move the motor brackets that are welded on the carrier bars back towards the rear of the van. This was done to allow for longer transmissions in the later years.
However, no one makes 82' style new carrier bars. To me the newer style is ideal for the following reasons:
- They are solid mounted at the end of the carriers and not rubber NLA (yet supposedly accesible) bushings
- There is no need for a cross member across the oil-pan to help 'stablize' it.
- Supposedly the newer bars help reduce vibration which for a diesel is high on my list.
I have a set of TSI Engineering bars, which I plan to remove the motor bracket mounts and move them in position as where they would be on the 82'
TDI Clutch LUK DMF (17-050)
This can be done on an AAZ or TDI (1Z, AHU, ALH) engines in a 50deg setup with a diesel vanagon bellhousing.
Get a modified TDI input shaft from Chris @ T3 Technique (ask him) or buy from Brickwerks here (input-shaft-t3-tdi) installed onto your transmission.
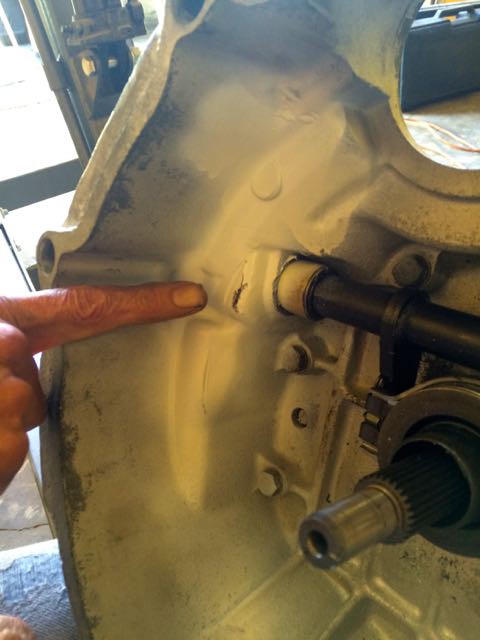
First cover the input shaft and Clutch Cross Shaft with masking tape. Then do a light spray of white spray paint inside the bell-housing. A very light spray. Then let that dry.
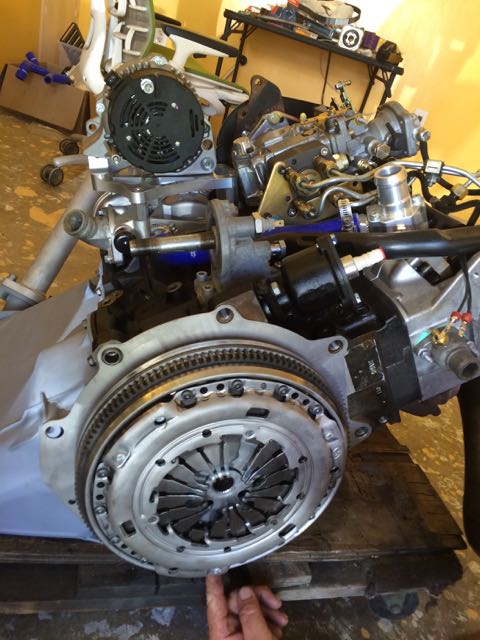
You'll at this point when the crank turns freely you'll want to mount up the DMF flywheel to the engine. Then mount up the tranny with the Bell Housing to the engine.
Once that's mated, try turning the crank. You "should" have interference. Go Clockwise till it stops then go CCW till it stops. Do this a few times.
Now remove your transmission & bell-housing.
You should see where the paint was rubbed indicating where to trim with a grinder to let the flywheel clear
Trim and remount and make sure it rotates cleanly.
Then remove the transmission and the DMF clutch/flywheel and put the DV flywheel/PP back on the engine.
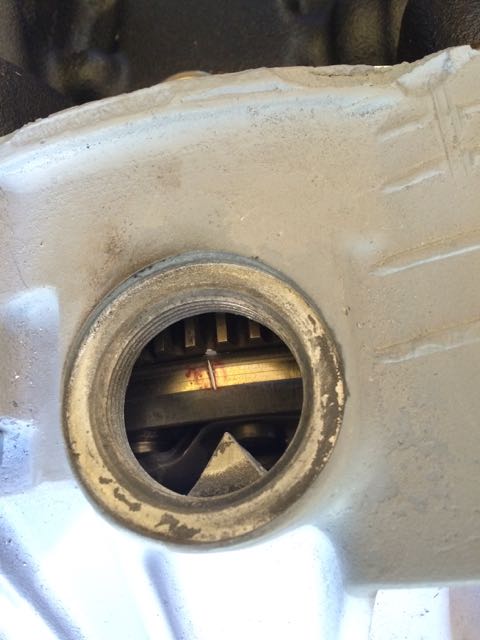
Now mate up the transmission again so you have the BH mark for the Flywheel/PP. Turn the crank till you have TDC of the flywheel, then install your crank-lock tool from MetalNerd.
At this point TDC the IP and CamShaft as indicated above.
Once, everything is at TDC; crank, camshaft, and IP
You can now remove the DV flywheel/pressure plate
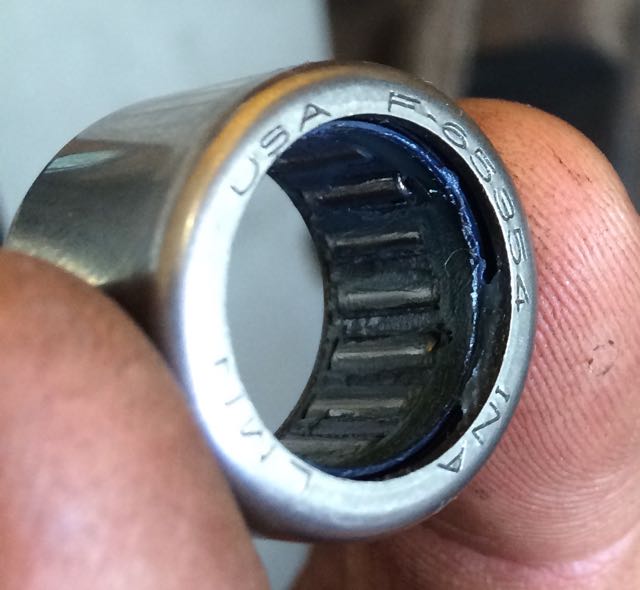
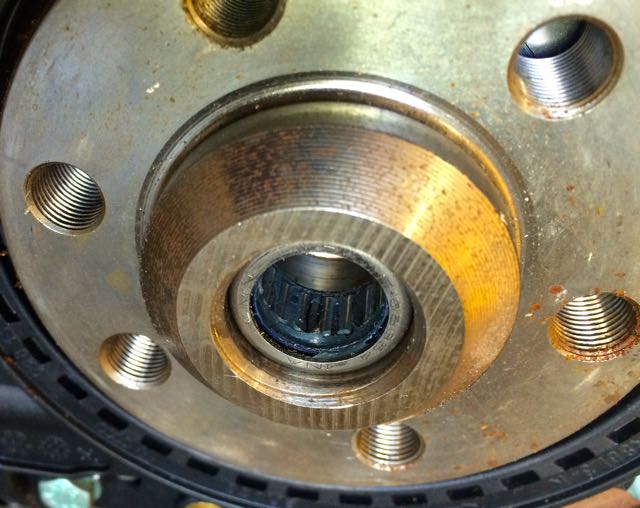
At this point you should install the pilot bearing lightly greased tapped into the spot on the engine
Install orientation
Installed
Install the TDI DMF Clutch/Flywheel.
Reinstall the transmission with the bell-housing.
Now, the BH will give a TDC mark of where the DV was that you now mark on your TDI DMF Flywheel/PP as indicated below;
Exhaust Manifold
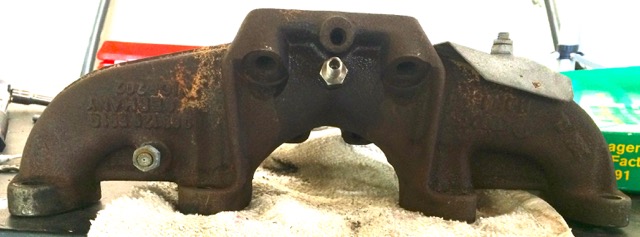
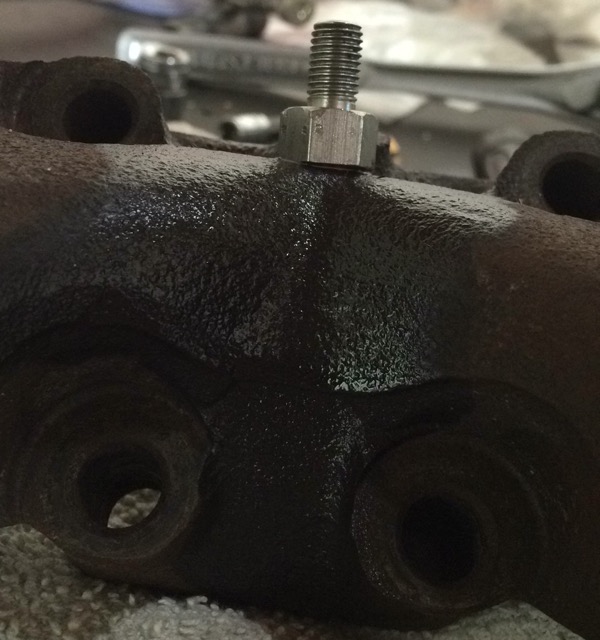
NOTE: Before you start see the EGT Probe section below
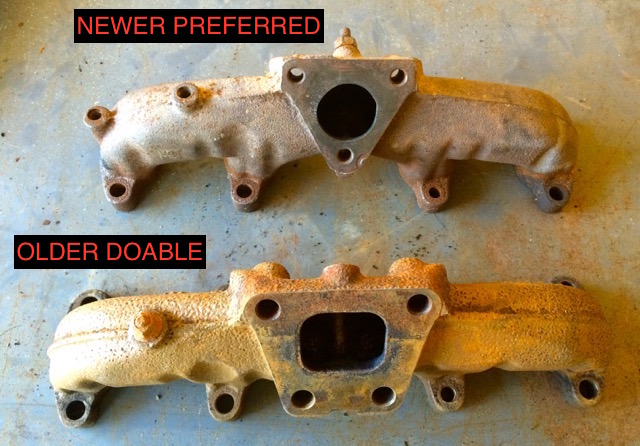
I couldn't find the newer style as readily as the older style. I got a newer one for if I had to switch to it down the road.
Reference
- VW; W42-011-294-103B 21-2
- Use high-temp (2000 F) anti-seize on bolts to hold the copper exhaust nuts which are to be torqued @ 25nm (18ft lb)
NOTES
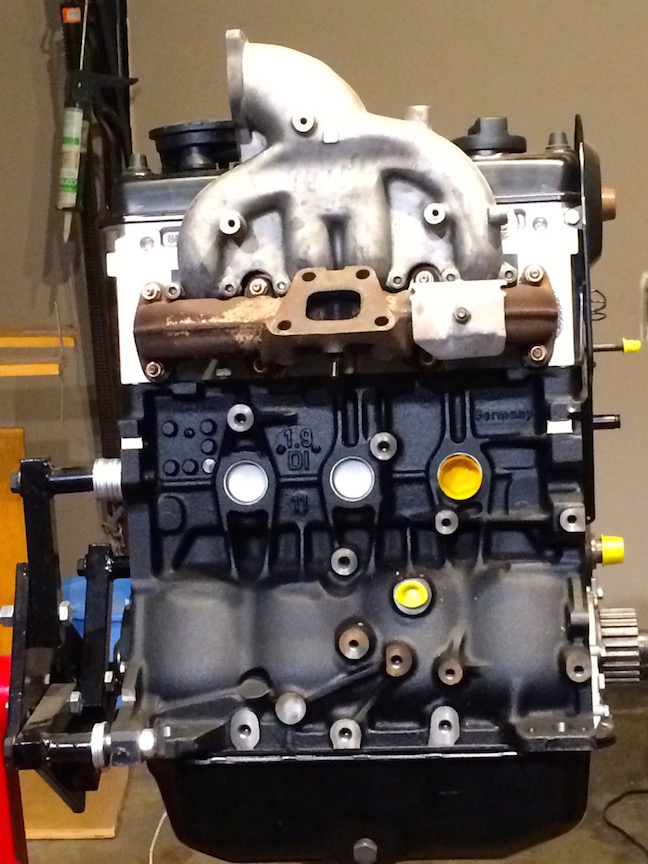
If using the AAZ exhaust manifold you position the turbo higher; thus, allowing to drain to the block instead of the oil pan.
There are TWO types of AAZ exhaust manifolds that work for this.
The older trapezoid and the newer triangle, both will work; however, some notes regarding the two.
OLDER - Trapezoid - Four Hole Unit - This will mount a K14 turbo stock without modification P/N 068-129-591G
NEWER - Triangle - Three Hole Unit - This will mount a K03 or K03 hybrid stock turbo without modification. P/N 028-253-033R
AAZ Exhaust Comparison
EGT Probe
P/Ns
- 1 x 068-129-591G - MK1 exhaust manifold trapezoid flange
- 8 x N90085001- Copper plated exhaust manifold nut (8 per manifold) @ 25nm (18ft lb)
- 8 x N90095501 - Exhaust manifold OE washer
- 4 x 028-129-589B Exhaust Manifold Gasket.
Tools
- 12mm socket
- Torque wrench
- Permatex Ultra Copper
- Blue LocTite
Gasket Install
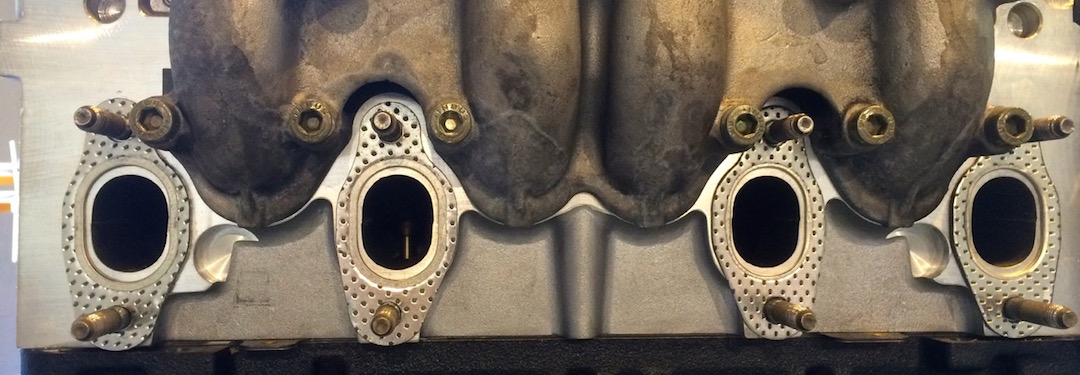
Per Libby: "The metal ring on the exhaust manifold gaskets can face either the head or the manifold and in fact, two *should* face the head and two should face the manifold. There is a horizontal line of symmetry through the exhaust manifold, but if you place a vertical line through the fastener holes, the ports are offset 4-5mm toward the center of the engine. In other words, the two ports on the pulley end of the head are offset toward the flywheel and the two at the flywheel end of the head are offset toward the pulleys. The exhaust gaskets need to be oriented so that the offset is the correct direction. Furthermore, if you look where the gasket surrounds the stud, there is a skinny side and there is a side that has more material. The skinny side should be oriented closer to the intake manifold."
Then a light smear of permatex copper on both sides of the exhaust manifold gaskets
Here is how the gaskets should look orientated before the permatex sealer
Video
Photo
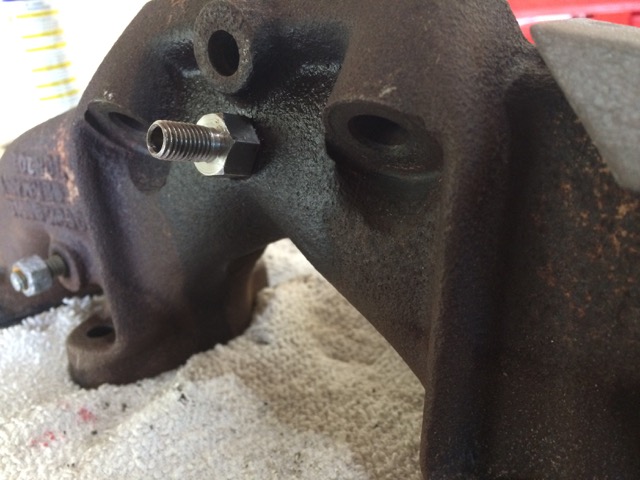
EGT Probe Install
Reference
Photos
IPDATE; The below tap location works, but so does tapping the above stud when imused on an AHU. I wasn't aware then. Verified by Karl M.


